Validating Your TOMbars2 for LTE
Step 1 : Launch NinjaTrader Software / Application
Launch your NinjaTrader software / application. The first window it brings up is the Control Center.
Step 2 : Connect to Your Data Feed Provider
You will need to be successfully connected to your Data Feed provider so that your charts will populate with candles. Follow this path.
CONTROL CENTER >> FILE >> CONNECT >> (select your provider)
Your Data Feed Provider
This is something that needs to be established when you have installed NinjaTrader's software / application. If you have not done this, please refer to the Activation Process >> Step 2.
Step 3 : Open a New Blank Chart
In the Control Center window, click on FILE >> NEW >> CHART

CLICK TO ENLARGE
Step 4 : Data Series Window
The Data Series window will automatically open. You will need to select an instrument to put in the chart. You can select ANY instrument you want. Ideally, just to get the Validation and Setting done, pick: CL or ES or NQ.
Selecting an Instrument
From within the top left section of the Data Series window, click on the instrument of your choice, just once. Then down below click NEW. You will see the instrument you picked is now showing in the bottom left section of the Data Series window.

CLICK TO ENLARGE
Step 5 : Validating Your Indicator
You will need to validate your indicator in order to use it on a chart. With the DATA SERIES WINDOW still open, go to the top right section labeled: PERIOD, there you will modify the TYPE. To modify the TYPE, click on MINUTE (to the right of TYPE) to enable the drop down menu.

CLICK TO ENLARGE
Selecting an Instrument
In the drop down menu scroll down to locate the indicator: TOMbars2. Click on TOMbars2.

CLICK TO ENLARGE
Your Validation Code
For this next step you will need your TOMbars2 validation Code provided below.
IMPORTANT: If you have more than one machine ID activated, then pay close attention to which code is assigned to which machine ID.
Entering Your Validation Code
You can enter the validation by copy & pasting.
Validation Code - Copying
Simply DOUBLE CLICK on the Code, to highlight. Once it is highlighted you may copy it one of two ways: 1.) Right click on the highlight to open the menu options and select COPY, or, 2.) on your keyboard hit and hold CTRL, and with CTRL held down click the letter C [to copy]; then release. Either way will copy whats highlighted.
Now to Enter the Validation Code
In the PERIOD section, look for the row labeled: BRICK SIZE. By default it is set to 5. You will enter the Code here. Remove the 5 and enter (paste) the Code - be careful to not add any blank spaces before or after the code, this will make the validation process not work correctly.
Pasting the Validation Code
You can paste the code one of 2 ways: 1.) Right click on the highlight to open the menu options and select PASTE, or, 2.) on your keyboard hit and hold CTRL, and with CTRL held down click the letter V [to paste]; then release. Either way will paste the highlighted.

CLICK TO ENLARGE
Completing the Validation Process
After you've entered the Code, on the bottom left of the DATA SERIES window is the OK button. Click OK to close the window. This will also trigger the chart to pull the data feed from your provider and populate the chart with candles.
Step 6 : You're Finished with the Installation and Validation Processes
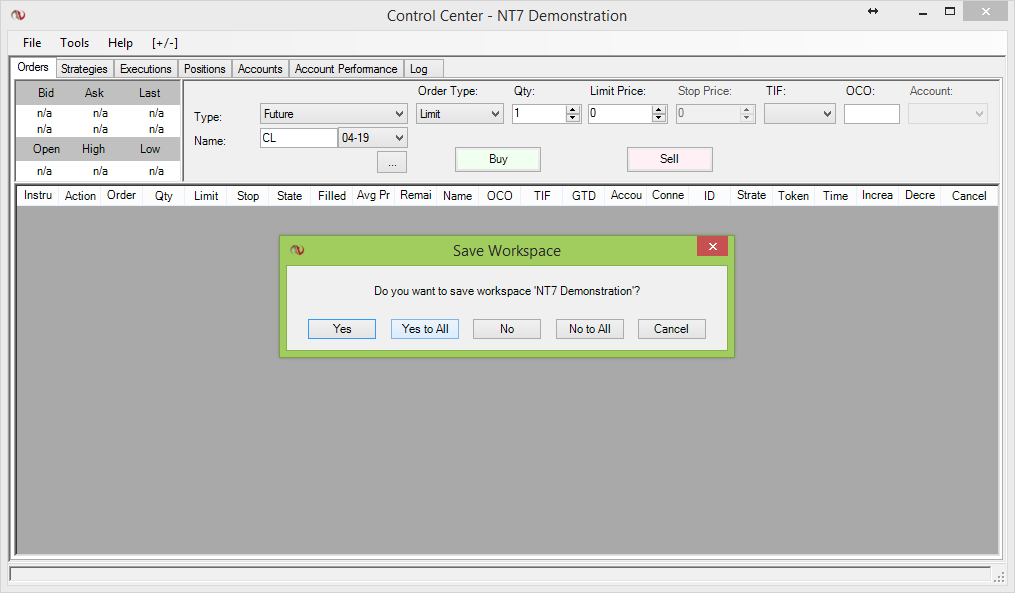
It is always a good habit to relaunch your NinjaTrader just after importing a new .zip file. Shut down and exit your NinjaTrader. As NinjaTrader shuts down, a window will pop up giving you options to save or not save. You will need to select YES TO ALL. This will allow NinjaTrader to register the newly installed (imported) .zip files.
Step 7 : Completed the Validation process
After you've completed the Validation process you can move onto the LTE - KSTRATS.


