KSTRATS – The Oil Money
Archive
Blog Archives

KSTRAT 5 + Power Pack

DOWNLOAD & INSTALL

Step 1 : Download the .ZIP File(s)

REMEMBER!!! NEVER OPEN OR UNZIP ANY OF THE .ZIP FILE(S).

Step 2

OPEN NINJATRADER 7

Step 3

FOLLOW THE IMPORT INSTRUCTIONS

Import Instructions for Power Pack

Step 4

CLOSE NINJATRADER 7

Step 5

INSTALL KSTRAT CHART TEMPLATES

Import Instructions for TEMPLATES

How To Use Your LTE Power Pack

The LTE Power Pack updates two indicators, adds a KStrat and adds an indicator to the LTE tools you already have. We’ve also simplified the indicators where possible and given you chart templates for each KStrat to make setting them up as easy as possible.

THE POWER PACK CONTAINS:

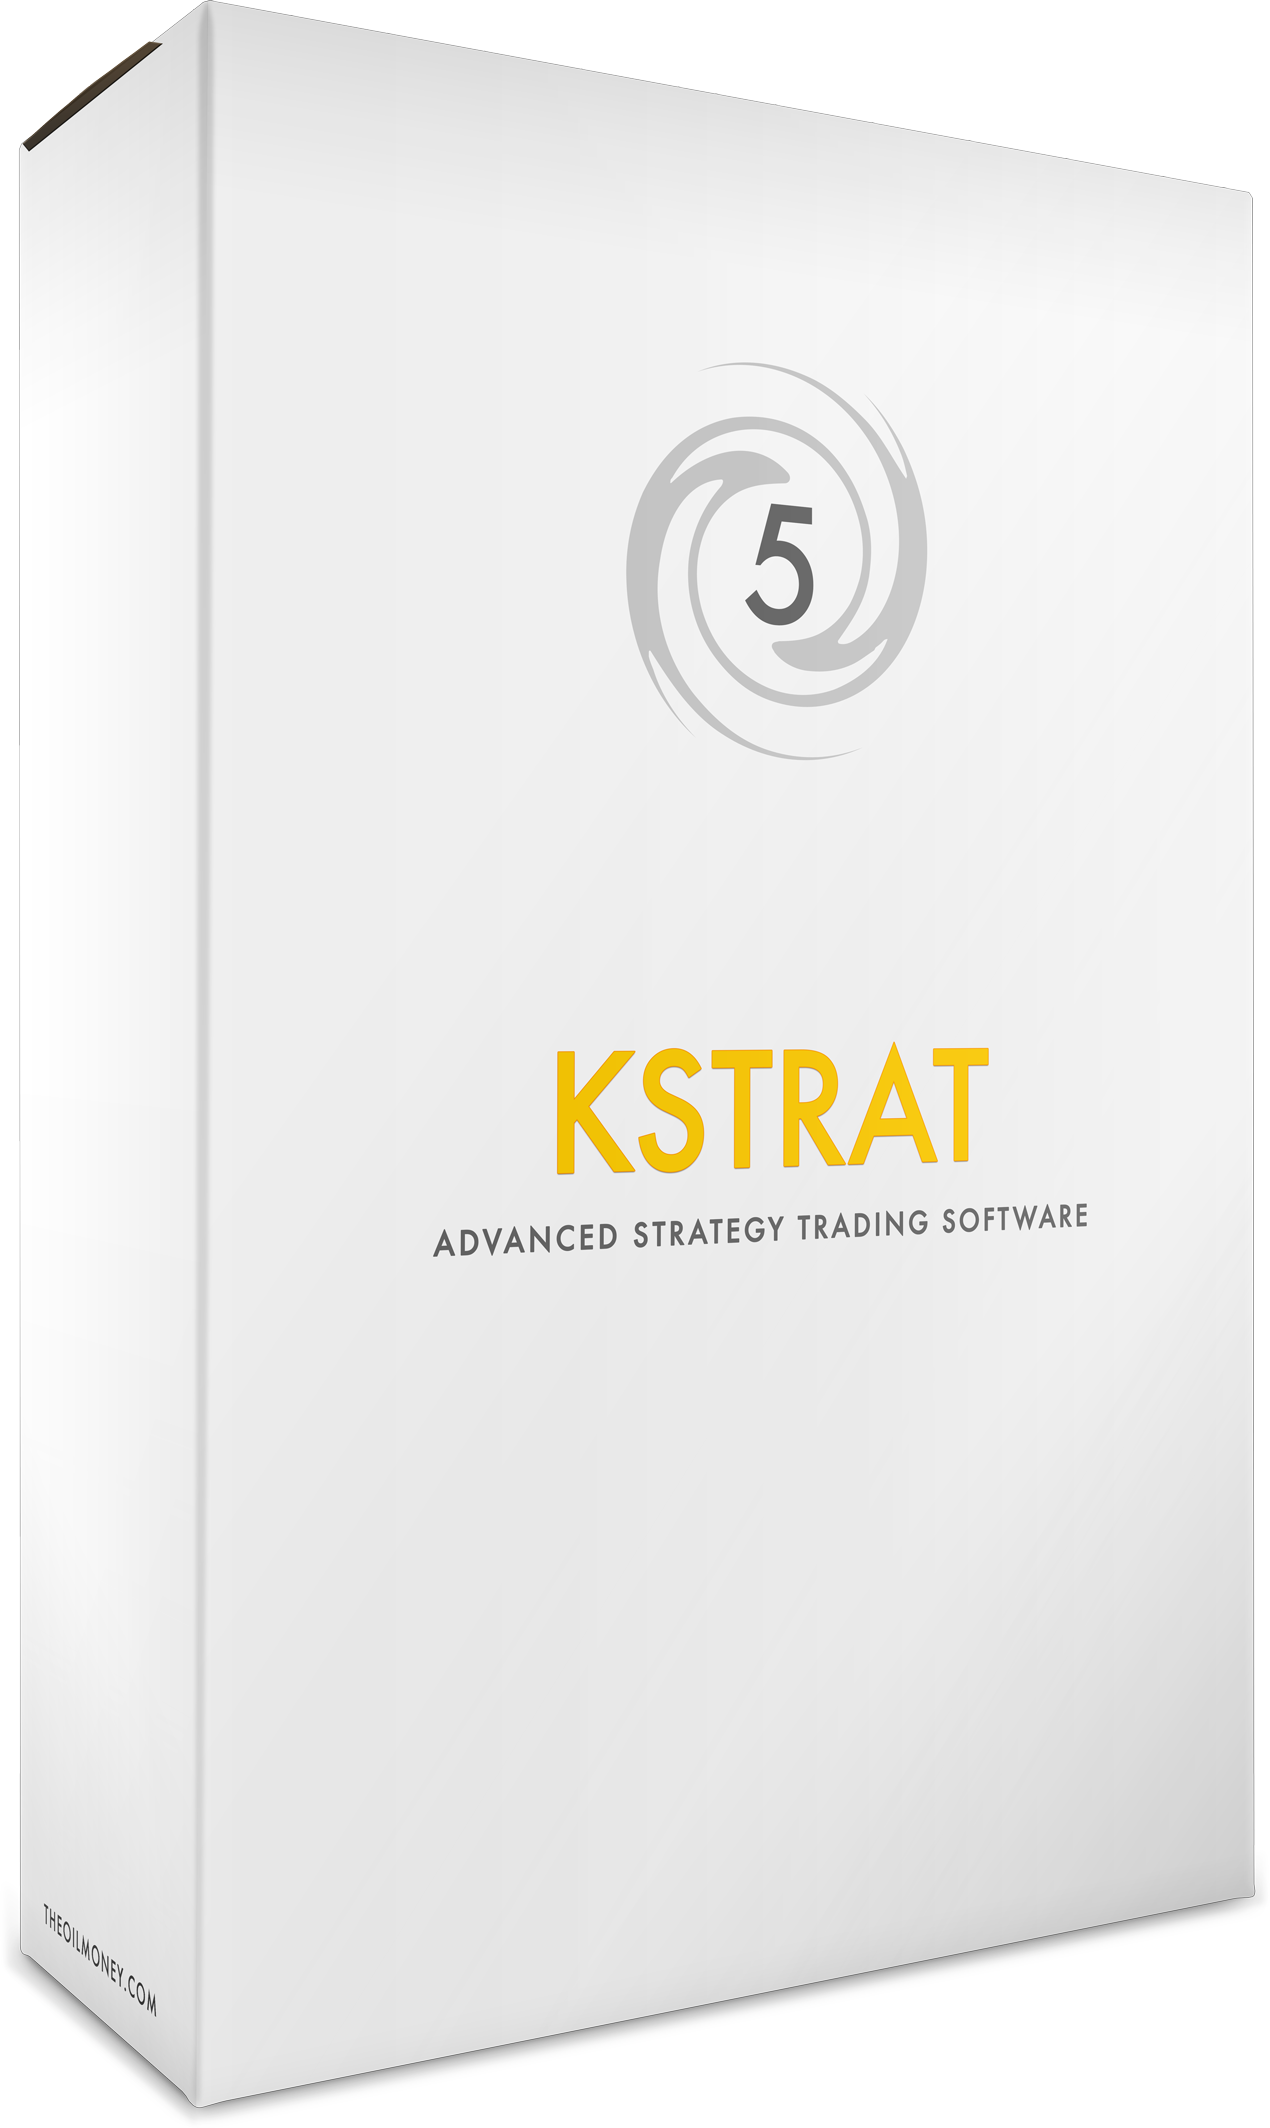
KStrat5 puts the algorithm for PivotScalper2 in to a KStrat. This new KStrat is good for longer term solidly trending markets.


Advanced Pivots. This is an upgrade to the Pivots indicator that comes with NinjaTrader. This indicator provides Floor Trader numbers based on the last two trading days. These numbers are calculated and have the remarkable ability to show where price will get support or resistance and make reversals.


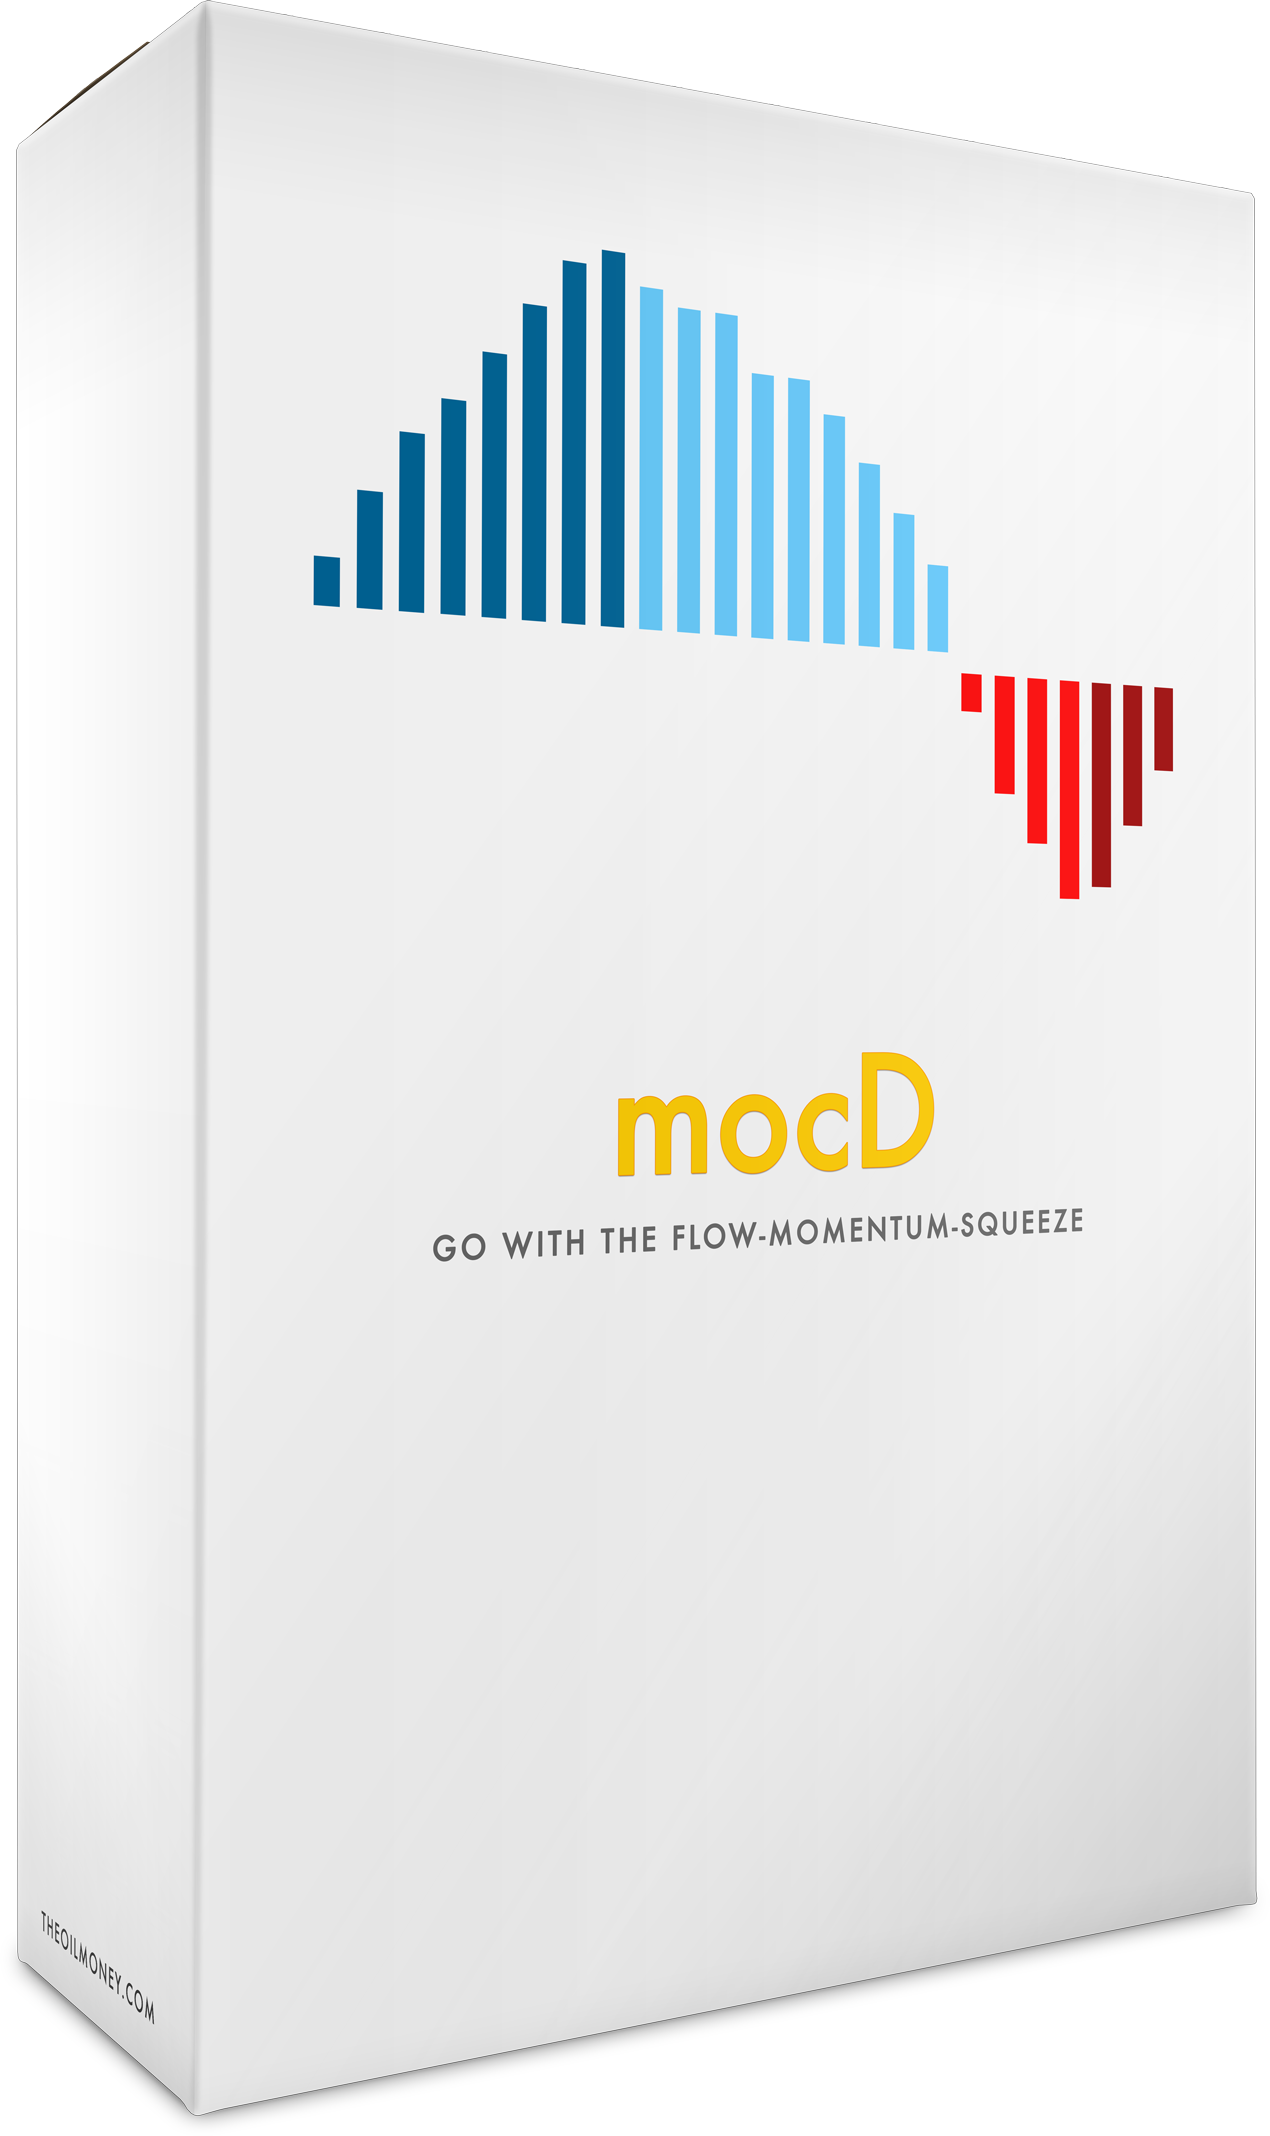
MOCD (Momentum Oscillator with Congestion and Divergence). This indicator is a reproduction of the KSqueeze indicator introduced in the Live Trading Events. This version removes a few confusing options and otherwise functions exactly like KSqueeze did. Use this indicator to see price moment, divergence and congestion.


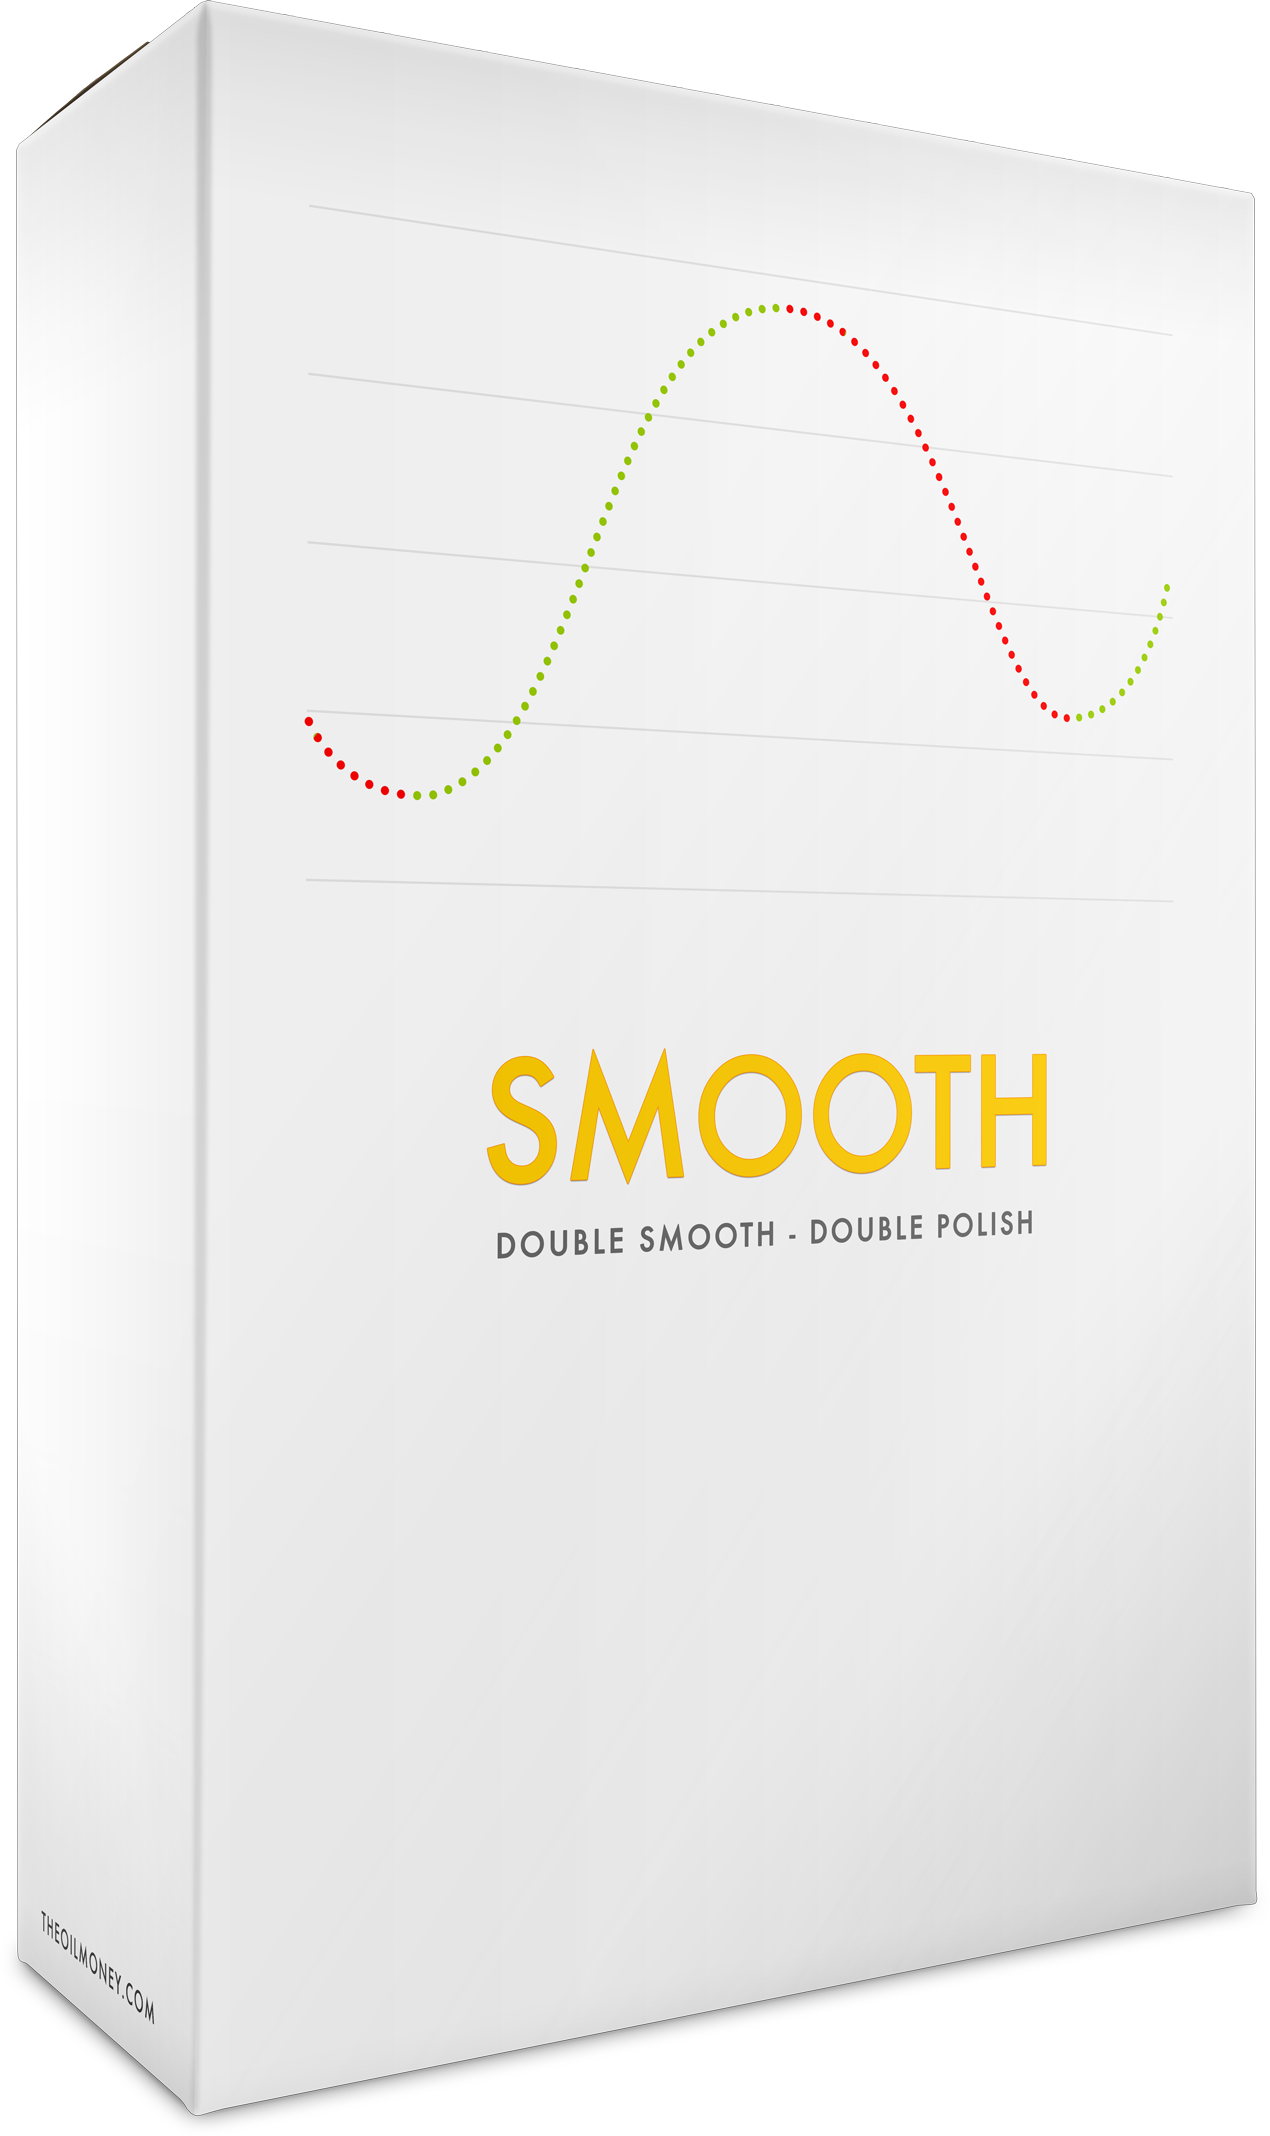
Smooth. This is our take on the anaDoubleSmoothedStochastics. We’ve rename it so as not to get confused with the similar indicator that comes with NinjaTrader and built it with default settings that integrate with our templates so you can get on with your KStrat trading and not have to mess with configuring NinjaTrader. This indicator provides a good way to look at market volatility and if it’s reaching overbought or oversold levels.


Templates. You now have a template that corresponds to each KStrat. This will allow you to quickly setup a chart for a KStrat. Of course you may wish to change the settings in the template and these templates will simply give you a good starting point.

NINJATRADER 7

GETTING STARTED:

By now you should have installed the templates and new indicators and KStrat5. To get started using any of the KStrats, just open a new chart, select the instrument you want, set the session to 24/7 and select the template corresponding to the KStrat you wish to use.

Next you will need to add the KStrat to your chart. You can right click your chart and select Strategies or select the strategiesicon icon in your chart. If these options are not available, you need to start your data feed and/or turn off the Chart Trader (toolbar icon charttradericon) on your chart.

If you’re rusty on the KStrats, please refer to the LTE section of TheOilMoney website. There you will find complete instructions on installing the individual KStrats, how to configure them manually and a wealth of information on how to use them and under what conditions.

Now that you have a lifetime license to these tools you also have our commitment to keep the tools up to date and working with all of NinjaTrader’s supported platforms.

TOMbars2 Validation

Validating Your TOMbars2 for LTE

Step 1 : Launch NinjaTrader Software / Application

Launch your NinjaTrader software / application. The first window it brings up is the Control Center.

Step 2 : Connect to Your Data Feed Provider

You will need to be successfully connected to your Data Feed provider so that your charts will populate with candles. Follow this path.

CONTROL CENTER >> FILE >> CONNECT >> (select your provider)​

Your Data Feed Provider

This is something that needs to be established when you have installed NinjaTrader's software / application. If you have not done this, please refer to the Activation Process >> Step 2.

Step 3 : Open a New Blank Chart

In the Control Center window, click on FILE >> NEW >> CHART

CLICK TO ENLARGE

Step 4 : Data Series Window

The Data Series window will automatically open. You will need to select an instrument to put in the chart. You can select ANY instrument you want. Ideally, just to get the Validation and Setting done, pick: CL or ES or NQ.

Selecting an Instrument

From within the top left section of the Data Series window, click on the instrument of your choice, just once. Then down below click NEW. You will see the instrument you picked is now showing in the bottom left section of the Data Series window.​

CLICK TO ENLARGE

Step 5 : Validating Your Indicator

You will need to validate your indicator in order to use it on a chart. With the DATA SERIES WINDOW still open, go to the top right section labeled: PERIOD, there you will modify the TYPE. To modify the TYPE, click on MINUTE (to the right of TYPE) to enable the drop down menu.

CLICK TO ENLARGE

Selecting an Instrument

In the drop down menu scroll down to locate the indicator: TOMbars2. Click on TOMbars2.

CLICK TO ENLARGE

Your Validation Code

For this next step you will need your TOMbars2 validation Code provided below.

IMPORTANT: If you have more than one machine ID activated, then pay close attention to which code is assigned to which machine ID.

Your Product Information

Name:
Email:

Machine ID 1:


TOMbars2 Code:


Machine Type 1:

Machine ID 2:


TOMbars2 Code 2:


Machine Type 2:

IMPORTANT!! Each computer must have it's machine ID activated to use our products.
If you have not been activated please do so now

Entering Your Validation Code

You can enter the validation by copy & pasting.

Validation Code - Copying

Simply DOUBLE CLICK on the Code, to highlight. Once it is highlighted you may copy it one of two ways: 1.) Right click on the highlight to open the menu options and select COPY, or, 2.) on your keyboard hit and hold CTRL, and with CTRL held down click the letter C [to copy]; then release. Either way will copy whats highlighted.

Now to Enter the Validation Code

In the PERIOD section, look for the row labeled: BRICK SIZE. By default it is set to 5. You will enter the Code here. Remove the 5 and enter (paste) the Code - be careful to not add any blank spaces before or after the code, this will make the validation process not work correctly.

Pasting the Validation Code

You can paste the code one of 2 ways: 1.) Right click on the highlight to open the menu options and select PASTE, or, 2.) on your keyboard hit and hold CTRL, and with CTRL held down click the letter V [to paste]; then release. Either way will paste the highlighted.​

CLICK TO ENLARGE

Completing the Validation Process

After you've entered the Code, on the bottom left of the DATA SERIES window is the OK button. Click OK to close the window. This will also trigger the chart to pull the data feed from your provider and populate the chart with candles.

Step 6 : You're Finished with the Installation and Validation Processes

It is always a good habit to relaunch your NinjaTrader just after importing a new .zip file. Shut down and exit your NinjaTrader. As NinjaTrader shuts down, a window will pop up giving you options to save or not save. You will need to select YES TO ALL. This will allow NinjaTrader to register the newly installed (imported) .zip files.

Step 7 : Completed the Validation process

After you've completed the Validation process you can move onto the LTE - KSTRATS.

TOMbars2 Installation

DOWNLOAD & INSTALL TOMbars2

Step 1 : Download the .ZIP File(s)

Download all the .zip file(s) to your local machine (computer). If you are prompted with an option to save, select "SAVE AS" so that file is saved with its original name. NEVER OPEN OR UNZIP ANY OF THE .ZIP FILE(S).

TOMbars2 v2.0.0 [Release Date: 06.08.16]

CLICK HERE TO DOWNLOAD .ZIP FILE

REMEMBER!!! NEVER OPEN OR UNZIP ANY OF THE .ZIP FILE(S).

Step 2 : Locate the .ZIP File(s)

To prepare yourself for the installation (import) process, you will need to know where you downloaded the .zip file(s). Take a moment to locate them in your computer. Make a (mental) note where you found them, you will need them later in the install (import) process.

Step 3 : Launch NinjaTrader Software / Application

Launch your NinjaTrader software / application. The first window it brings up is the Control Center. It is here, in the Control Center, you will import the .zip file(s).

Step 4 : Import the .ZIP File(s)

In the Control Center window, click on FILE >> UTILITIES >> IMPORT NINJASCRIPT.

CLICK TO ENLARGE

Step 5 : Pop-up Message During Import

By NinjaTrader default a message window will pop up with a general warning about importing file(s). Click on YES.

CLICK TO ENLARGE

Step 6 : Locate the .ZIP File(s) You Downloaded

A new window will open for you to locate the .zip file(s). Click on the .zip file you wish to install and at the bottom of the window click OPEN. The window will disappear and this will trigger the installation into NinjaTrader.

ATTENTION: Only one .zip file can be installed at a time.​

CONFIRMATION OF INSTALLATION (IMPORT): NinjaTrader will pop up a message confirming the import was successful.

CLICK TO ENLARGE

ERROR OCCURS WHEN IMPORTING (INSTALLING): If you receive an error when installing (importing) the .zip file, then you will want to take a snapshot of the error and submit a ticket with NinjaTrader's Support. You will want to give NinjaTrader's Support an opportunity to resolve the issue that created the error. You can reach NinjaTrader's Support via their site >> NinjaTrader Support

CLICK TO ENLARGE

After you have resolved your issue with NinjaTrader's Support, you may continue to the next step in your installation process.

Step 7 : Got More than One .ZIP File to Import (Install)

If you have to install (import) other .zip file(s), then you need to REPEAT STEPS 4-6 for each .zip file.

Step 8 : Installation (Import) of .ZIP File(s) Completed

It is always a good habit to relaunch your NinjaTrader just after importing a new .zip file(s). Shut down and exit your NinjaTrader. As NinjaTrader shuts down, a window will pop up giving you options to save or not save. You will need to select YES TO ALL. This will allow NinjaTrader to register the newly installed (imported) .zip file(s).

CLICK TO ENLARGE

KStrat4 Resources

Additional resources, useful and helpful tips.

Basic Settings

CLICK TO ENLARGE

KStrat4 Installation

DOWNLOAD & INSTALL

Step 1 : Download the .ZIP File(s)

Download all the .zip file(s) to your local machine (computer). If you are prompted with an option to save, select "SAVE AS" so that file is saved with its original name. NEVER OPEN OR UNZIP ANY OF THE .ZIP FILE(S).

KSTRAT4 v1.0.0.zip [Release Date: 10.07.15]

CLICK HERE TO DOWNLOAD .ZIP FILE

REMEMBER!!! NEVER OPEN OR UNZIP ANY OF THE .ZIP FILE(S).

Step 2 : Locate the .ZIP File(s)

To prepare yourself for the installation (import) process, you will need to know where you downloaded the .zip file(s). Take a moment to locate them in your computer. Make a (mental) note where you found them, you will need them later in the install (import) process.

Step 3 : Launch NinjaTrader Software / Application

Launch your NinjaTrader software / application. The first window it brings up is the Control Center. It is here, in the Control Center, you will import the .zip file(s).

Step 4 : Import the .ZIP File(s)

In the Control Center window, click on FILE >> UTILITIES >> IMPORT NINJASCRIPT.

CLICK TO ENLARGE

Step 5 : Pop-up Message During Import

By NinjaTrader default a message window will pop up with a general warning about importing file(s). Click on YES.

CLICK TO ENLARGE

Step 6 : Locate the .ZIP File(s) You Downloaded

A new window will open for you to locate the .zip file(s). Click on the .zip file you wish to install and at the bottom of the window click OPEN. The window will disappear and this will trigger the installation into NinjaTrader.

ATTENTION: Only one .zip file can be installed at a time.​

CONFIRMATION OF INSTALLATION (IMPORT): NinjaTrader will pop up a message confirming the import was successful.

CLICK TO ENLARGE

ERROR OCCURS WHEN IMPORTING (INSTALLING): If you receive an error when installing (importing) the .zip file, then you will want to take a snapshot of the error and submit a ticket with NinjaTrader's Support. You will want to give NinjaTrader's Support an opportunity to resolve the issue that created the error. You can reach NinjaTrader's Support via their site >> NinjaTrader Support

CLICK TO ENLARGE

After you have resolved your issue with NinjaTrader's Support, you may continue to the next step in your installation process.

Step 7 : Got More than One .ZIP File to Import (Install)

If you have to install (import) other .zip file(s), then you need to REPEAT STEPS 4-6 for each .zip file.

Step 8 : Installation (Import) of .ZIP File(s) Completed

It is always a good habit to relaunch your NinjaTrader just after importing a new .zip file(s). Shut down and exit your NinjaTrader. As NinjaTrader shuts down, a window will pop up giving you options to save or not save. You will need to select YES TO ALL. This will allow NinjaTrader to register the newly installed (imported) .zip file(s).

CLICK TO ENLARGE

KStrat3 Resources

Additional resources, useful and helpful tips.

Basic Settings

CLICK TO ENLARGE

KStrat3 Installation

DOWNLOAD & INSTALL

Step 1 : Download the .ZIP File(s)

Download all the .zip file(s) to your local machine (computer). If you are prompted with an option to save, select "SAVE AS" so that file is saved with its original name. NEVER OPEN OR UNZIP ANY OF THE .ZIP FILE(S).

KSTRAT3 v1.0.0.zip [Release Date: 09.15.15]

CLICK HERE TO DOWNLOAD .ZIP FILE

REMEMBER!!! NEVER OPEN OR UNZIP ANY OF THE .ZIP FILE(S).

Step 2 : Locate the .ZIP File(s)

To prepare yourself for the installation (import) process, you will need to know where you downloaded the .zip file(s). Take a moment to locate them in your computer. Make a (mental) note where you found them, you will need them later in the install (import) process.

Step 3 : Launch NinjaTrader Software / Application

Launch your NinjaTrader software / application. The first window it brings up is the Control Center. It is here, in the Control Center, you will import the .zip file(s).

Step 4 : Import the .ZIP File(s)

In the Control Center window, click on FILE >> UTILITIES >> IMPORT NINJASCRIPT.

CLICK TO ENLARGE

Step 5 : Pop-up Message During Import

By NinjaTrader default a message window will pop up with a general warning about importing file(s). Click on YES.

CLICK TO ENLARGE

Step 6 : Locate the .ZIP File(s) You Downloaded

A new window will open for you to locate the .zip file(s). Click on the .zip file you wish to install and at the bottom of the window click OPEN. The window will disappear and this will trigger the installation into NinjaTrader.

ATTENTION: Only one .zip file can be installed at a time.​

CONFIRMATION OF INSTALLATION (IMPORT): NinjaTrader will pop up a message confirming the import was successful.

CLICK TO ENLARGE

ERROR OCCURS WHEN IMPORTING (INSTALLING): If you receive an error when installing (importing) the .zip file, then you will want to take a snapshot of the error and submit a ticket with NinjaTrader's Support. You will want to give NinjaTrader's Support an opportunity to resolve the issue that created the error. You can reach NinjaTrader's Support via their site >> NinjaTrader Support

CLICK TO ENLARGE

After you have resolved your issue with NinjaTrader's Support, you may continue to the next step in your installation process.

Step 7 : Got More than One .ZIP File to Import (Install)

If you have to install (import) other .zip file(s), then you need to REPEAT STEPS 4-6 for each .zip file.

Step 8 : Installation (Import) of .ZIP File(s) Completed

It is always a good habit to relaunch your NinjaTrader just after importing a new .zip file(s). Shut down and exit your NinjaTrader. As NinjaTrader shuts down, a window will pop up giving you options to save or not save. You will need to select YES TO ALL. This will allow NinjaTrader to register the newly installed (imported) .zip file(s).

CLICK TO ENLARGE

KStrat2 Installation

DOWNLOAD & INSTALL

Step 1 : Download the .ZIP File(s)

Download all the .zip file(s) to your local machine (computer). If you are prompted with an option to save, select "SAVE AS" so that file is saved with its original name. NEVER OPEN OR UNZIP ANY OF THE .ZIP FILE(S).

KSTRAT2 v1.0.3.zip [Release Date: 09.11.15]

CLICK HERE TO DOWNLOAD .ZIP FILE

REMEMBER!!! NEVER OPEN OR UNZIP ANY OF THE .ZIP FILE(S).

Step 2 : Locate the .ZIP File(s)

To prepare yourself for the installation (import) process, you will need to know where you downloaded the .zip file(s). Take a moment to locate them in your computer. Make a (mental) note where you found them, you will need them later in the install (import) process.

Step 3 : Launch NinjaTrader Software / Application

Launch your NinjaTrader software / application. The first window it brings up is the Control Center. It is here, in the Control Center, you will import the .zip file(s).

Step 4 : Import the .ZIP File(s)

In the Control Center window, click on FILE >> UTILITIES >> IMPORT NINJASCRIPT.

CLICK TO ENLARGE

Step 5 : Pop-up Message During Import

By NinjaTrader default a message window will pop up with a general warning about importing file(s). Click on YES.

CLICK TO ENLARGE

Step 6 : Locate the .ZIP File(s) You Downloaded

A new window will open for you to locate the .zip file(s). Click on the .zip file you wish to install and at the bottom of the window click OPEN. The window will disappear and this will trigger the installation into NinjaTrader.

ATTENTION: Only one .zip file can be installed at a time.​

CONFIRMATION OF INSTALLATION (IMPORT): NinjaTrader will pop up a message confirming the import was successful.

CLICK TO ENLARGE

ERROR OCCURS WHEN IMPORTING (INSTALLING): If you receive an error when installing (importing) the .zip file, then you will want to take a snapshot of the error and submit a ticket with NinjaTrader's Support. You will want to give NinjaTrader's Support an opportunity to resolve the issue that created the error. You can reach NinjaTrader's Support via their site >> NinjaTrader Support

CLICK TO ENLARGE

After you have resolved your issue with NinjaTrader's Support, you may continue to the next step in your installation process.

Step 7 : Got More than One .ZIP File to Import (Install)

If you have to install (import) other .zip file(s), then you need to REPEAT STEPS 4-6 for each .zip file.

Step 8 : Installation (Import) of .ZIP File(s) Completed

It is always a good habit to relaunch your NinjaTrader just after importing a new .zip file(s). Shut down and exit your NinjaTrader. As NinjaTrader shuts down, a window will pop up giving you options to save or not save. You will need to select YES TO ALL. This will allow NinjaTrader to register the newly installed (imported) .zip file(s).

CLICK TO ENLARGE

KStrat1 Resources

How-To videos, additional resources, useful and helpful tips.

We recommend watching the videos in full view HD.

1

Use

3

2/3/4 Bar Trades Part 1

5

1 Bar Trades

2

Options

4

2/3/4 Bar Trades 2

6

NT7 Strategy Training Level 1

>